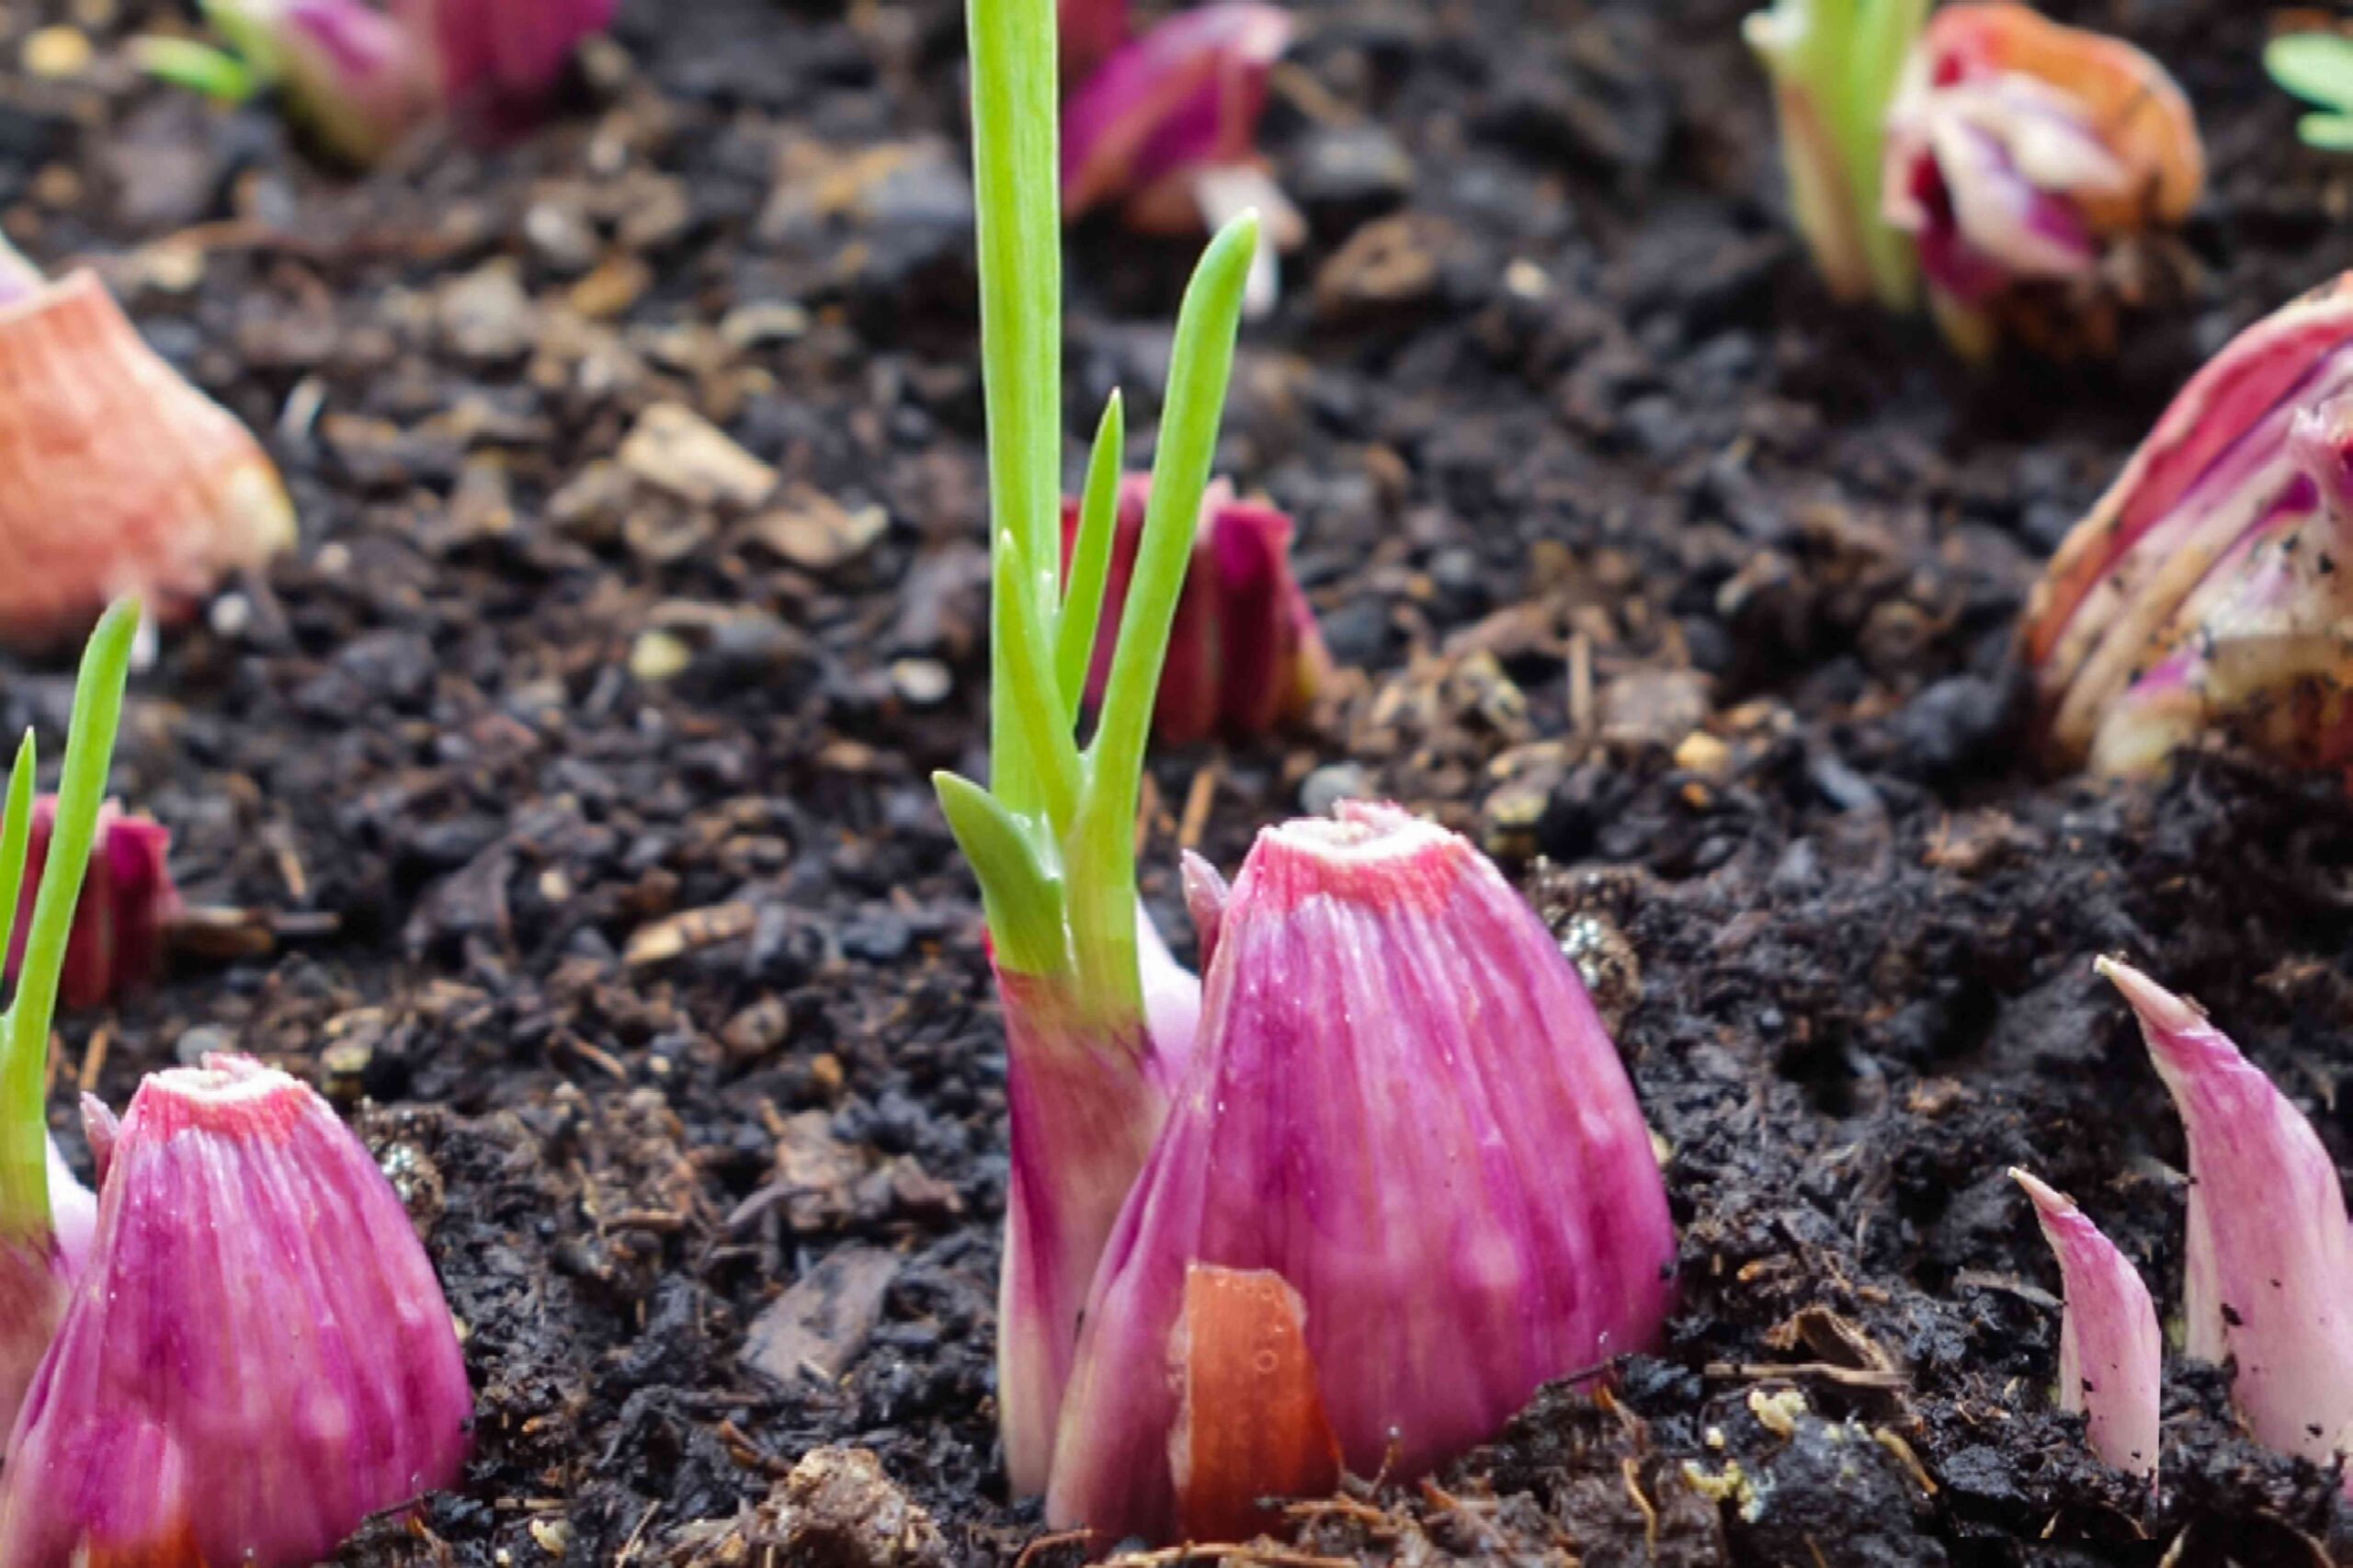
Shallots are mild, aromatic members of the onion family, usually planted in autumn as single cloves to produce the largest shallots. They are a multiplier vegetable, similar to potatoes. From one shallot clove, you’ll harvest from four up to a dozen new shallots. This allium can also be grown from seed; however, each seed produces only one shallot, and seeds need to be started indoors eight to ten weeks before the final frost in your growing zone.
However you choose to grow them, follow these guidelines and tips for a satisfying shallot harvest.
When to Harvest Shallots
Autumn-planted shallots are ready for harvest in seven to nine months, from April to June, depending on variety and your growing zone. Cloves and seeds planted in autumn begin the growth cycle until the first frost.
Then the tops die back, and plants stay dormant over winter. They require about a month of cool temperatures between 32°F and 50°F during dormancy. Growth resumes in early spring when the soil reaches 45°F.
Early spring plantings of both seeds and cloves are ready to harvest 100 to 120 days from late summer to early autumn.
Mark a calendar to help you remember when to start checking shallots for signs they’re ready. Watch for clumps of bulbs to rise to the soil surface.
When tops (leaves) turn yellow or brown and start to fall over, it’s time to harvest and cure your crop. Lift shallots on a dry day in the morning or late afternoon before or after peak heat.
Want more gardening tips? Sign up for our free gardening newsletter for our best growing tips, troubleshooting hacks, and more!
How to Harvest Shallots
A handheld garden fork, spade, and a basket or container are all you need to harvest shallots.
- Use the spade to loosen soil around a clump of shallots.
- Use the fork to dig underneath and lift the entire clump out of the soil.
- Shake off excess soil. Avoid using water to remove soil and debris, which can cause bulbs to rot.
- Gently separate the clump into individual shallots. They should pull apart easily.
Tips for Successful Shallot Harvesting
- When to harvest depends on several factors, including shallot variety, whether you planted seeds or bulbs in spring or autumn, weather conditions, and your growing zone. Use the days to harvest information on your seed or clove package as a guideline, and watch for signs of readiness such as fallen tops and bulbs near the soil surface.
- Uncured shallots are not suited for long-term storage, but keep in the refrigerator crisper drawer for up to two months.
- For long-term storage, cure shallots on a screen in a dry location out of direct sunlight for at least two weeks. Provide good air circulation during the curing phase.
- Once a brown, papery skin develops, remove stems and trim roots. Place shallots in a net bag and keep them in a cool, dark place for up to six months.
- Shallots can also be braided and hung in a cool location out of direct sunlight. When cured adequately, braids last six to 12 months.
- Shallots can be frozen for up to one year, but retain better flavor and texture when chopped before placing in air-tight bags or containers.
FAQ
-
Shallot greens (leaves) have a mild oniony garlic flavor. They can be harvested and eaten but taking too many results in smaller shallot bulbs.
-
Shallots need to be cured for long term storage. Give them two to three weeks in a cool, shaded spot with good air circulation. Uncured shallots keep in the refrigerator crisper draw for up to two months.


